Design Evolution: Sleeker & More Ergonomic
Let’s look at how the physical style has changed with this model. Straight off the bat, they have designed this a lot better, making it look a lot sleeker and more ergonomic. It really stands out on the side of people’s houses, where these devices actually now look a lot better compared to the older versions.
The updated dimensions are also a massive win if you are working with tight spaces around your front doorframe. The body is noticeably taller, but it’s narrower, which means it can easily fit in tighter spaces. If you have awkward trim or a thin brick layout around your door, that’s quite a good, helpful change. All of this comes together beautifully to make up the brand new Ring battery doorbell.
Unboxing & Component Breakdown
When you first open the box, you’ll find that everything is laid out cleanly with all the bits you actually need to get started. As you’ve probably come to expect from the brand, it’s all very well packaged, ensuring that you have all the components that you need right in front of you.
The hardware bundle inside keeps things incredibly simple:
- The Manual: Obviously, you’ve got the instructions, which are important, really helpful, and really easy to follow.
- The Window Decal: You’ve also got your typical Ring sticker, so you can put that somewhere around your property to let people know that you’ve got a Ring doorbell.
- The Installation Hardware: There is a little sachet of screws and wall plugs included, so you can install it on the side of your house really simply.
- The Updated Mounting Base: You then have the back plate itself, which has seen a major upgrade. This new base plate has now got only two screws, whereas the previous ones had four. If the one you’ve currently got at your house had four, you’ll find that this updated version is much easier now to install.
Step-by-Step Installation Guide
Putting this 2nd Gen version up on the wall is a quick job that doesn’t require a mountain of tools or DIY expertise. There’s only three components you need to handle: the back plate, the doorbell itself, and the fixings. You get a wall plug and the screws right inside the box, making the process nice and easy.
- Marking the spot: The first thing you need to do is mark out the two holes on your wall ready to drill.
- Prepping the wall: Once you’ve marked and drilled the holes, you simply put in your wall plugs.
- Mounting the plate: Then you’re ready to fit the back plate onto the wall. All you need for this part is a Phillips screwdriver, and in a few turns, the back plate is firmly secured to the wall.
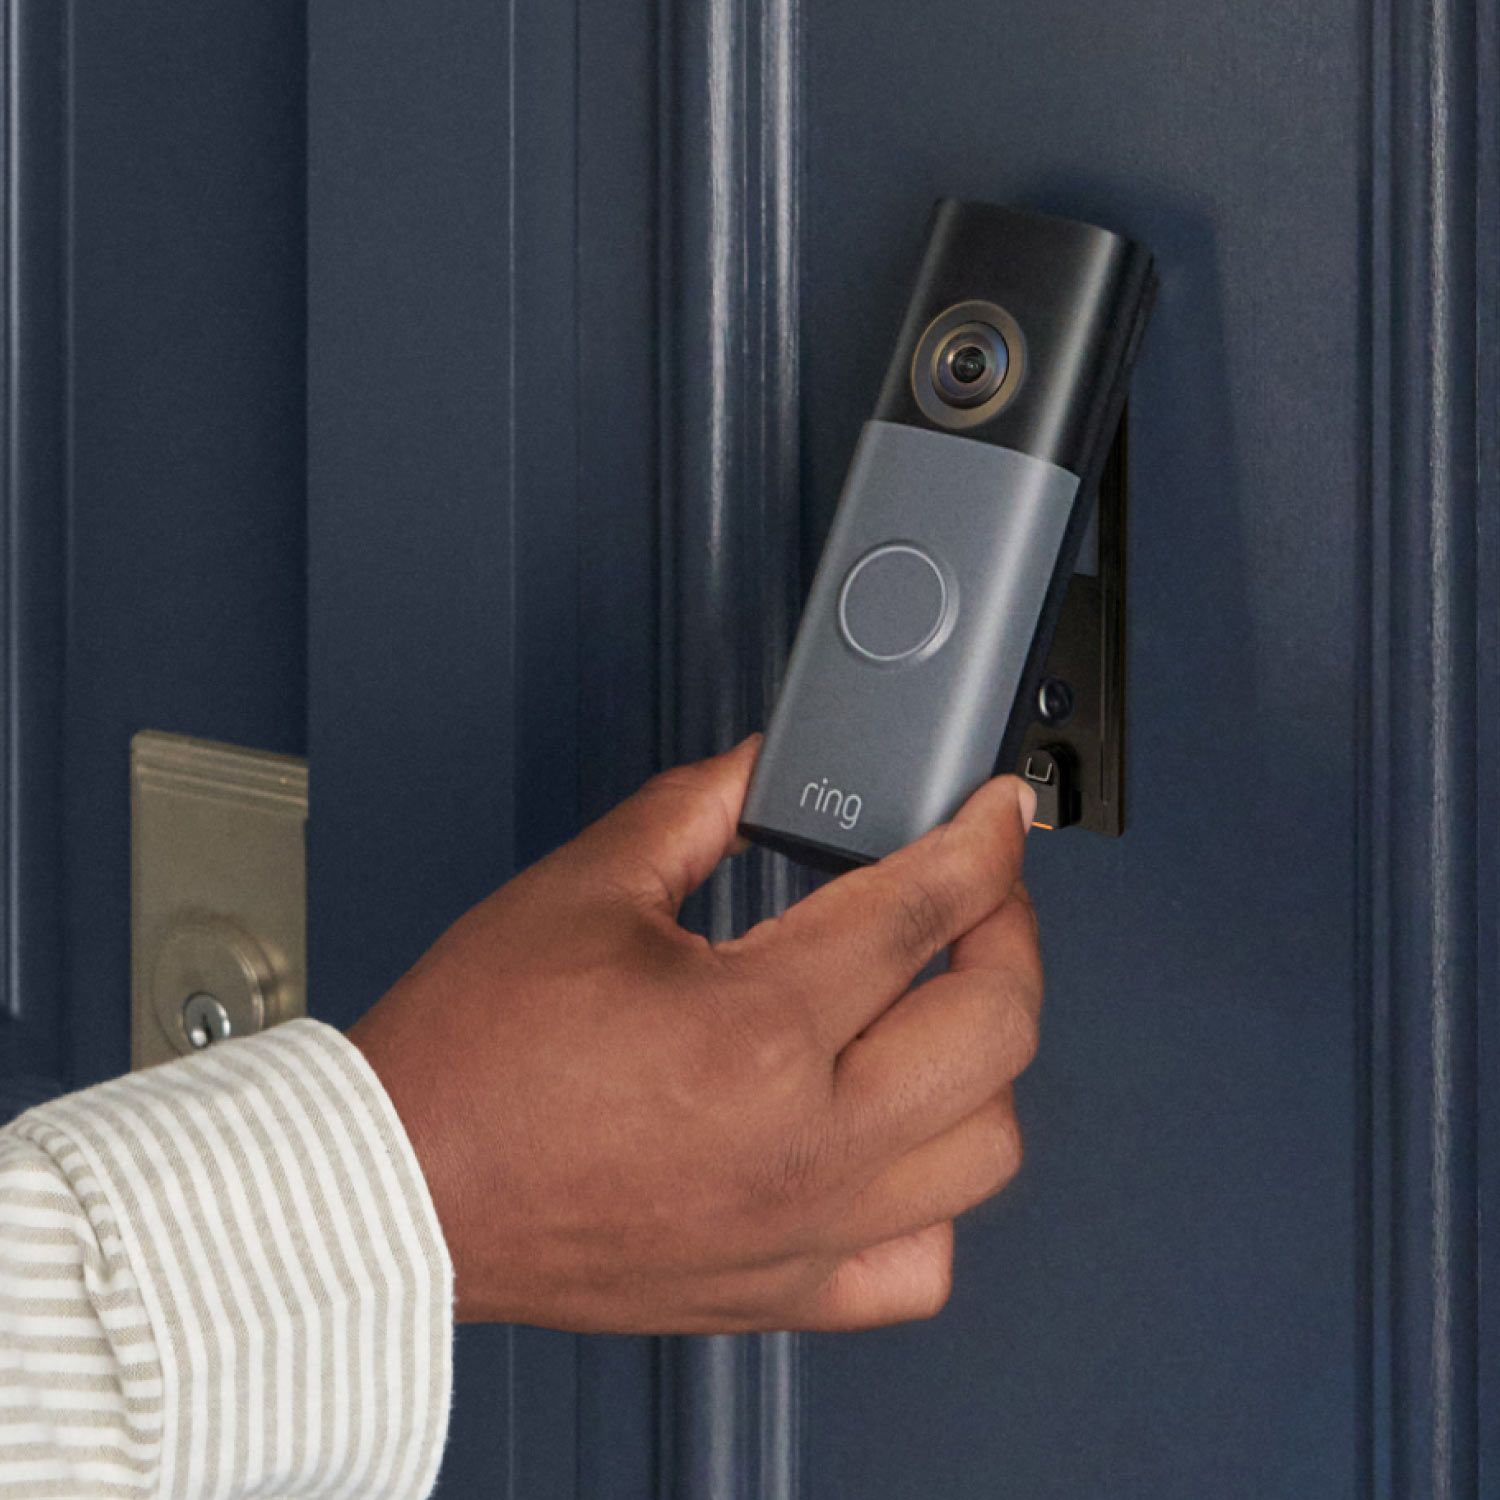
- Attaching the unit: With the base set, it’s time to install the camera. If you look at the unit, you can see there’s a little hole with a slot. If you put that slot over the back plate first, and then you clip the bottom in, that’s how you get this onto the wall smoothly.
When you look at the entire process from start to finish, I actually don’t think there’s an easier Ring product to install than this new battery doorbell.
Final Verdict & Ecosystem Integration
Once it is up and running, the hardware quality, the ease of the software, and the way that everything just seamlessly kind of works together is incredibly good. It functions perfectly as part of your wider smart home setup.
To be honest, the overall reliability makes it an absolute must-have for peace of mind, to the point where I don’t think I would ever have a property without one of these. Because it delivers such a frictionless user experience, I highly recommend the Ring battery doorbell for anyone looking to upgrade their front door security.